Application Process for Rhino Shield
The Rhino Shield application involves a thorough process on every job.
We do it right, the first time & you Never Paint Again!
Wondering what it is like to paint your home for the last time? We show you every step involved so you can virtually experience the entire process. You will learn how a professional coating is done properly, the quality materials involved, and the exceptional service that gives your home the kind of advanced exterior our customers rave about.
Pressure Wash
Before any of the work has begun, we pressure wash all of the surfaces to be done. Pressure washing removes dirt and debris from the substrate and provides a clean surface for the work to begin.
Thorough Inspection
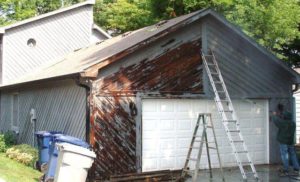
We inspect all of the area to be coated and devise a plan to complete the project. Note which areas need “special attention”. Renail any loose nails and siding boards. Make an inventory of any wood that needs replaced, stucco needing repair, etc.
Repair/Replace Siding
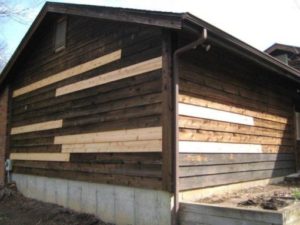
We repair and replace all siding materials with the exact type of material as is on your home. Our goal is to bring the surface back to its original condition.
Hand Scraping
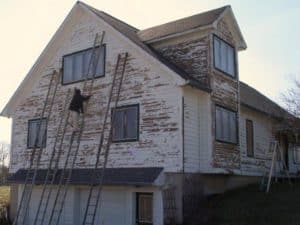
All loose paint and debris is hand scraped and removed. Our goal is to provide a clean bondable surface for the primer to be applied to.
Caulking
We fill small cracks and holes in the siding. We caulk all vertical joints. We ensure the caulking around window and doors is done properly to reduce air infiltration. We do not caulk underneath the laps as this limits ventilation. We use a high quality elastomeric acrylic caulk to ensure longevity and flexibility.
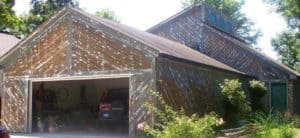
Masking
All areas which are not to be coated are masked off, covered, or temporarily removed (such as lighting fixtures, mailboxes, drainpipes, utility boxes, etc.) Special attention is given to roofing, plants, lawns, decks, windows, and other areas prone to overspray.
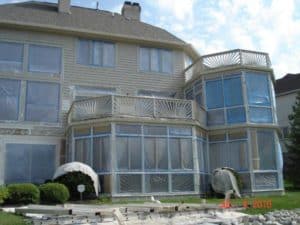
Apply Adhesive Primer Sealer
The primer is sprayed on to seal, waterproof, and provide a bonding agent for the finish coat. Our primer has a proprietary formula that includes fungicides, algaecides and mildewcides. Thus reducing future mold and mildew. It is white in color when applied and dries to a clear, tacky finish.
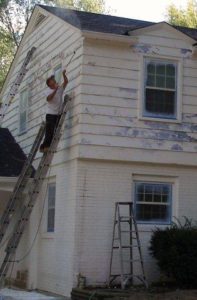
Apply Finish Coat
At last, after all the prep work and priming is completed, the ceramic top-coat is applied. This layer can be tinted to your choice of 1500 colors. The top-coat is sprayed at a rate of approximately 100 square feet per gallon or greater to achieve the optimal mil thickness. In some areas, brushing and rolling may be required. Porous surfaces may require back rolling.

Detail Touch Up
After the finish coat has been thoroughtly applied, we touch up the detailed areas and tight space areas.
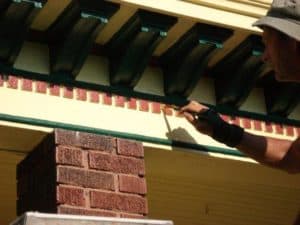
Clean Up
Once the finish coat had dried, we remove all masking masterials. Dropcloths are removed. Any shrubbery that was tied off is undone. Paint chips are clean up and even shop vacuumed if necessary. Our goal is to return your surroundings to the same condition as before we arrived.
Final Inspection
We’re not done until you’re completely satisfied with our work!

